Starting middle school marks an exciting milestone, and having a personal locker offers the perfect canvas to express creativity and personal style. Standard metal lockers are utilitarian and drab, but with a few simple materials and clever crafting techniques, students can turn these compact spaces into cozy, vibrant hubs for the school year.
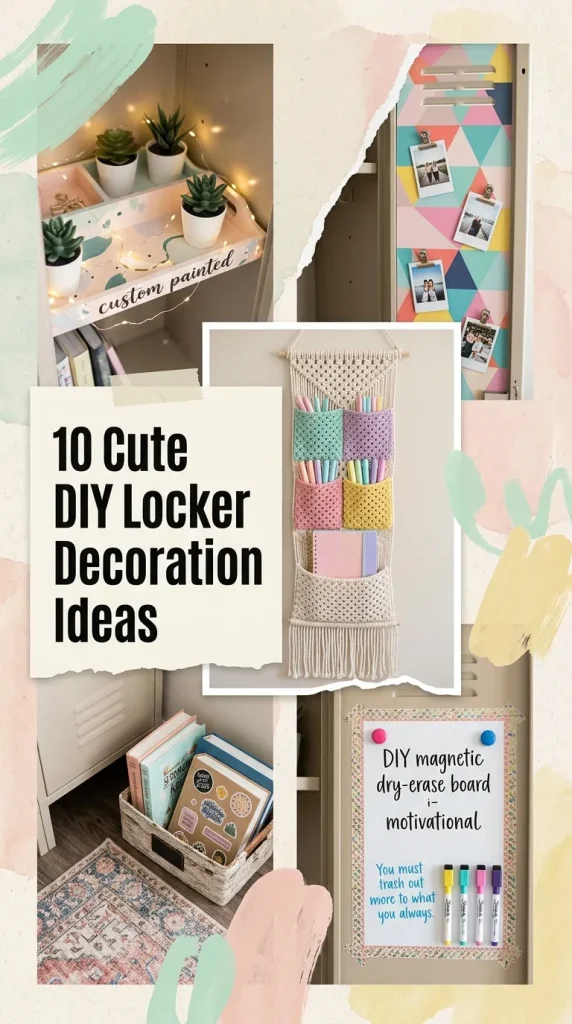
1. Peel-and-Stick Magnetic Wallpaper
Transforming the dull gray interior walls of a locker starts with a vibrant backdrop. Regular adhesive wallpaper will damage school property, so magnetic-backed craft sheets or wrapping paper lined with heavy-duty magnet strips offer the ideal damage-free solution.
- Materials: Fun patterned wrapping paper, cardstock, or contact paper, adhesive magnetic strips, scissors, and a ruler.
- How to make it: Measure the locker’s back and side panels precisely. Cut the decorative paper to size, reinforce the back with lightweight poster board for sturdiness, and apply adhesive magnet strips along the top, bottom, and edges. Snap the panels right onto the metal walls.
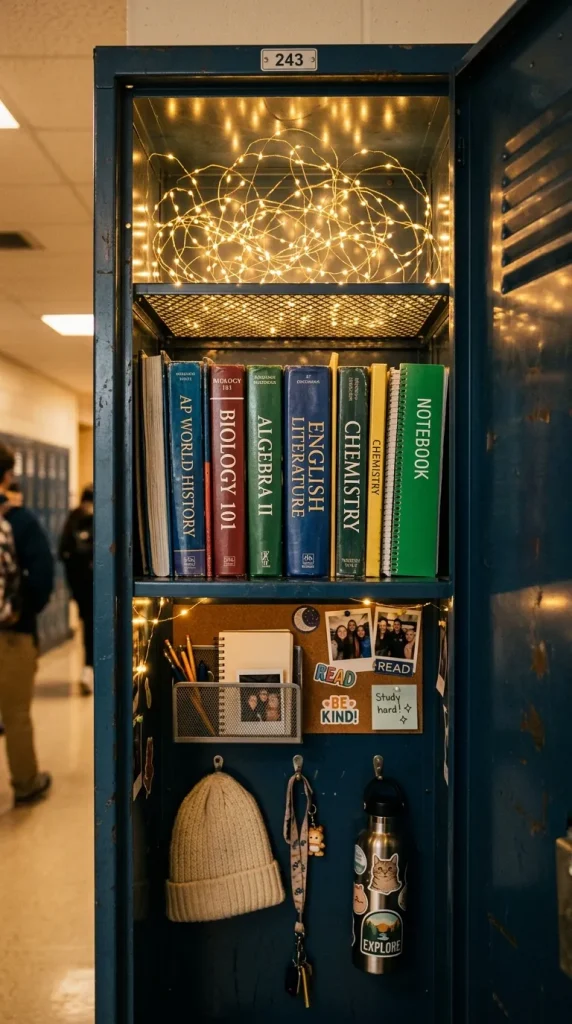
2. Battery-Operated Fairy Light Canopy
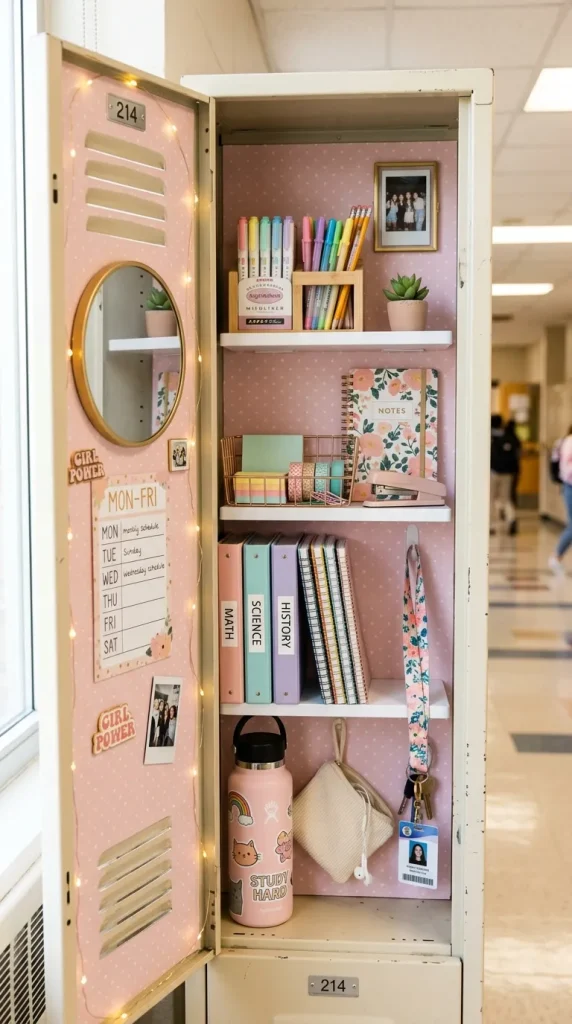
Good lighting makes a compact space feel warm and inviting. A mini string of warm LED fairy lights creates an instant cozy aesthetic every time the door swings open between classes.
- Materials: Battery-powered fairy lights with a small battery pack, adhesive magnetic hooks, and translucent ribbon.
- How to make it: Secure small magnetic hooks across the top ceiling and upper corners of the locker. Weave the thin wire fairy lights back and forth across the hooks to create a gentle canopy. Fasten the battery pack to the upper side wall using a magnet strip for quick access to the power switch.
3. Upcycled Pastel Magnetic Supply Cups
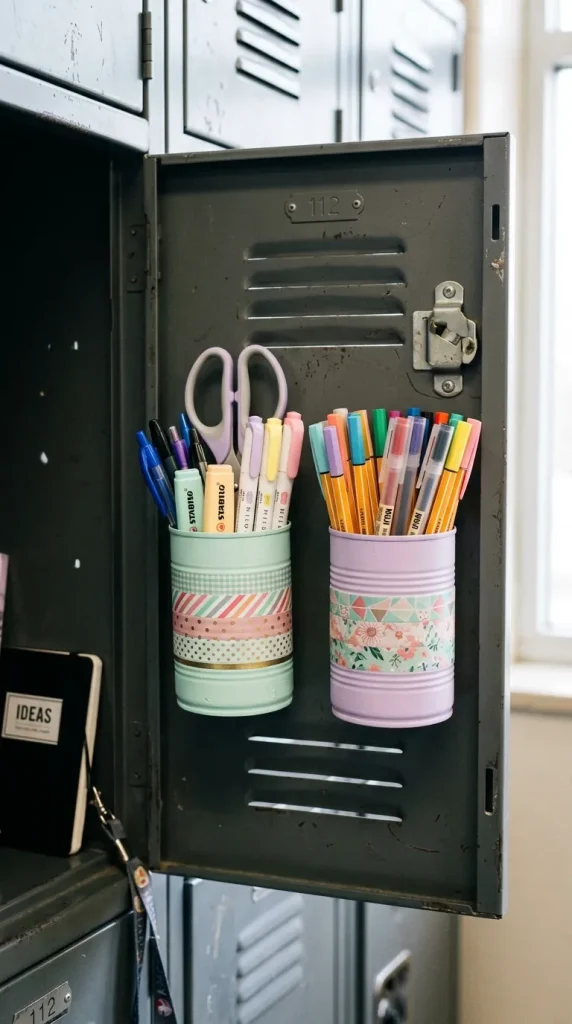
Keeping pens, highlighters, and pencils off the locker floor prevents clutter and saves precious time during quick class transitions.
- Materials: Clean recycled soup cans or cardboard craft tubes, pastel acrylic paint, washi tape, strong craft magnets, and hot glue.
- How to make it: Sand any rough edges on the cans. Paint the exteriors with two coats of pastel paint or wrap them neatly in decorative washi tape. Once completely dry, secure two strong ceramic or neodymium magnets to the back of each cup using hot glue. Stick them directly onto the inner door for instant stationery storage.
4. Mini Twine Photo Bunting
A mini photo garland brings familiar smiles, pet snapshots, and favorite memories right into the school day.
- Materials: Natural jute twine, mini wooden clothespins, printed mini polaroid-style photos, washi tape, and two magnetic clips.
- How to make it: Cut a strand of twine slightly wider than the locker door. Clip each end of the twine with a decorative magnetic clip and attach them horizontally across the upper door panel. Use mini wooden clothespins—which can be painted or coated in glitter—to clip lightweight photos and positive affirmations along the line.

5. DIY Framed Dry-Erase and Cork Message Board
A dual-purpose board provides space for quick reminder notes, homework deadlines, and fun doodles from friends.
- Materials: An inexpensive 5×7 or 8×10 picture frame, patterned scrapbook paper, a thin cork sheet, strong flat magnets, and dry-erase markers.
- How to make it: Remove the glass from one half of the frame and insert a cut-to-size piece of cork for pinning notes. In the other half, place a piece of light-colored patterned paper behind the glass to act as a sleek dry-erase surface. Glue sturdy magnets to the back of the frame, attach a magnetic clip to hold a marker, and mount it to the inner door.

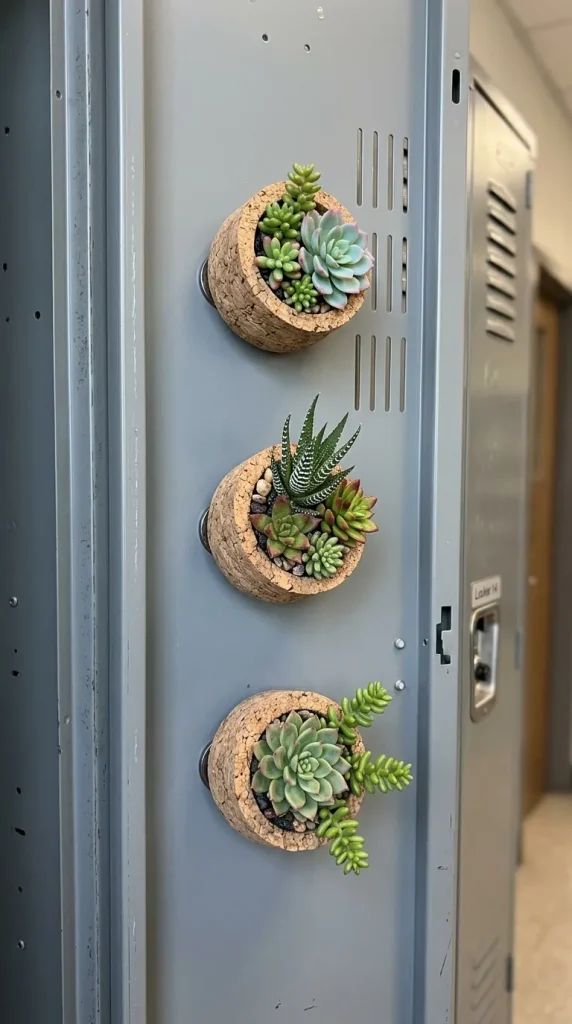
6. Plush Faux-Fur Locker Rug
The base of a locker often collects dirt from textbooks and boots. A mini faux-fur or fluffy fleece rug adds texture, softens the drop zone for binders, and brings a touch of luxury.
- Materials: Faux-fur fabric scrap, non-slip shelf liner, fabric scissors, and fabric glue.
- How to make it: Measure the exact dimensions of the locker floor. Cut the faux-fur fabric and a matching piece of non-slip shelf liner. Glue the liner to the backside of the fur using fabric glue to prevent it from sliding around when books are pulled out.
7. Aesthetic Gem-Studded Vanity Mirror
Checking hair or adjusting glasses between gym and the next period is easier with a customized locker mirror.
- Materials: Basic plastic locker mirror or lightweight acrylic framed mirror, flatback craft gems, faux pearls, hot glue, and strong magnets.
- How to make it: Lay the mirror flat and arrange flatback pearls, colorful rhinestones, or small resin cabochons along the plastic border. Secure each piece with a dab of craft glue. Ensure the back has sufficient magnet coverage so the mirror remains firmly in place when the locker door slams.
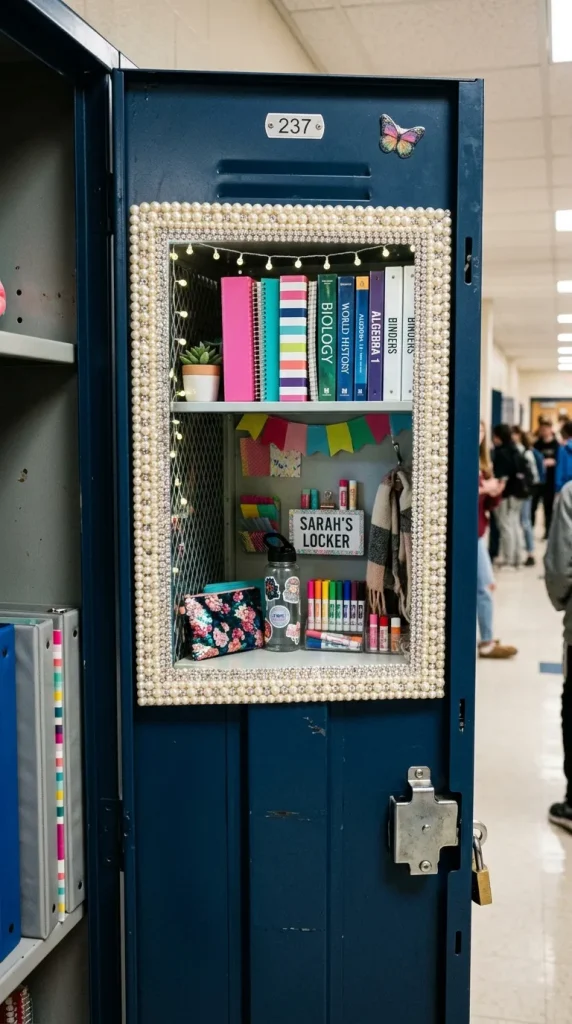
8. Magnetic Mini Faux Succulent Planters
Bring a fresh botanical vibe inside without the mess of real soil or watering requirements.
- Materials: Clean wine corks or lightweight plastic mini plant pots, small faux succulents, utility knife, hot glue, and mini disc magnets.
- How to make it: If using corks, carefully hollow out the top center using a utility knife. Insert the stem of a mini faux succulent and secure it with a drop of hot glue. Glue a strong mini disc magnet to the flat side of the cork. Place a cluster of two or three on the inner wall for an earthy, trendy touch.
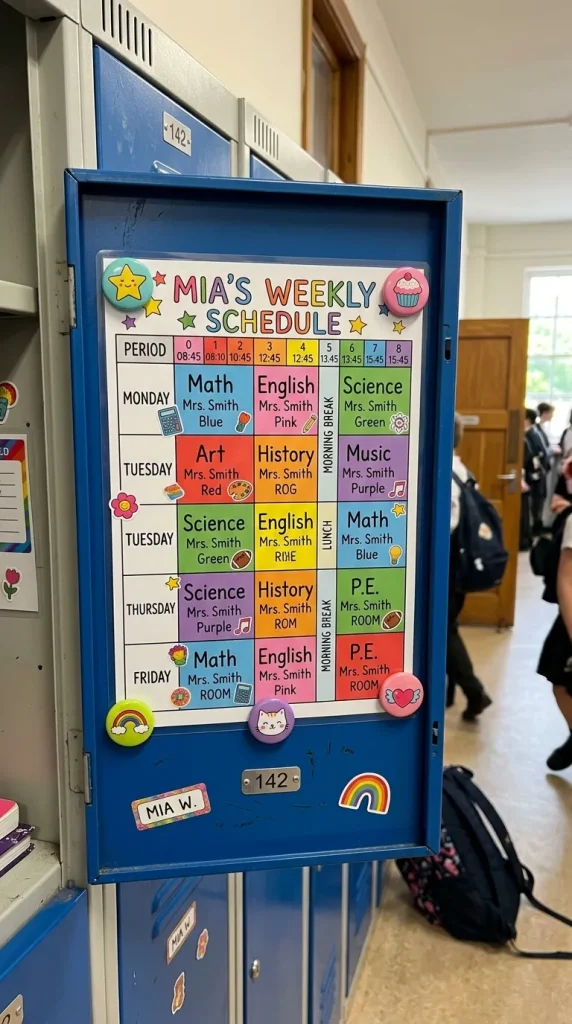
9. Color-Coded Weekly Schedule Slider
Staying on top of A/B days, test dates, and club meetings is simple with an interactive schedule board.
- Materials: Heavy cardstock, colorful stickers, clear laminating sheet or self-adhesive laminate, magnet strip, and a mini magnetic slider token.
- How to make it: Design a grid showing periods and weekdays on bright cardstock using markers and stickers. Laminate the sheet for durability. Attach a magnet strip to the back and use a colorful decorative magnet to slide along the chart throughout the day to track periods effortlessly.

10. Hanging Fabric Pocket Organizer
Maximize vertical storage for smaller items like lip balm, hair ties, calculators, and snacks.
- Materials: Sturdy canvas or cotton fabric scrap, ribbon, needle and thread or fabric glue, a wooden craft dowel, and two magnetic utility hooks.
- How to make it: Fold and stitch fabric pockets onto a vertical rectangular fabric backing. Create a loop channel at the top, slide the craft dowel through, and tie a decorative ribbon to both exposed ends. Hang the organizer from two sturdy magnetic hooks attached to the side wall.