
DIY photo displays are a fun and creative way for teens to personalize their bedrooms, study spaces, and dorm rooms. Instead of storing favorite memories on a phone or computer, handmade photo displays turn snapshots into meaningful room décor that reflects personality and style. Whether your aesthetic is minimalist, boho, vintage, colorful, or modern, there are countless ways to showcase photos using affordable craft supplies.
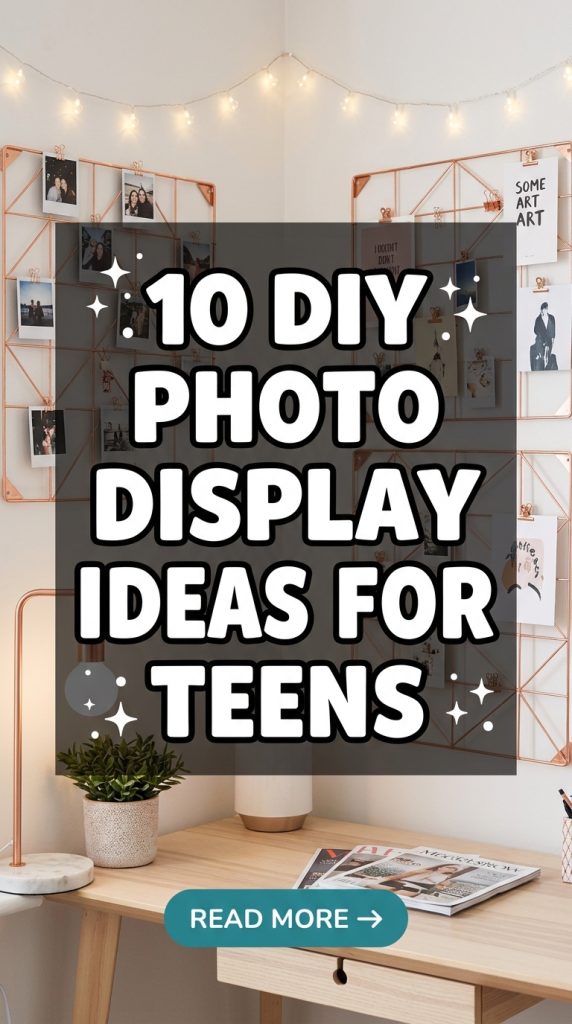
Most DIY photo display projects are beginner-friendly and can be completed in an afternoon using simple materials like string, clips, cork boards, wooden frames, and fairy lights. These projects also make thoughtful gifts for birthdays, graduations, or special occasions.
In this article, you’ll discover 10 DIY photo display ideas that are stylish, budget-friendly, and perfect for creating Pinterest-worthy room décor.
Why DIY Photo Displays Are So Popular
Photo displays combine creativity with personal memories, making any room feel warm and unique.
Benefits Of DIY Photo Displays
- Personalize bedroom décor
- Display favorite memories
- Affordable weekend craft projects
- Easy to customize
- Suitable for small spaces
- Simple to update with new photos
These projects can easily evolve as your collection of memories grows.
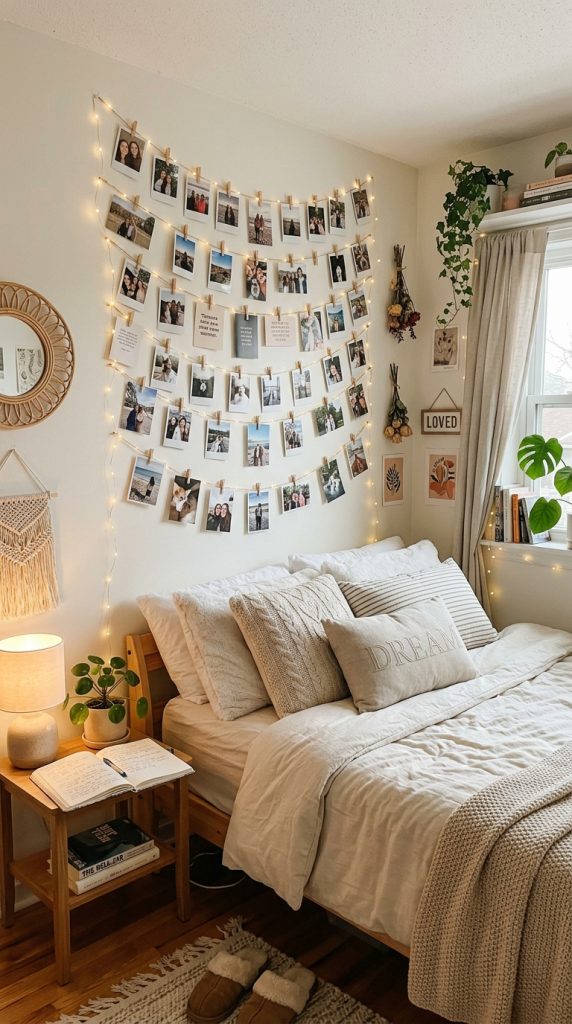
1. Fairy Light Photo Wall
A fairy light photo display creates a cozy atmosphere while showcasing your favorite pictures.
Materials Needed
- Warm white fairy lights
- Mini wooden clips
- Printed photos
- Clear wall hooks
How To Make It
Hang the fairy lights across the wall using removable hooks and attach photos with mini clips. Space the pictures evenly to create a balanced display.
2. Chicken Wire Photo Frame
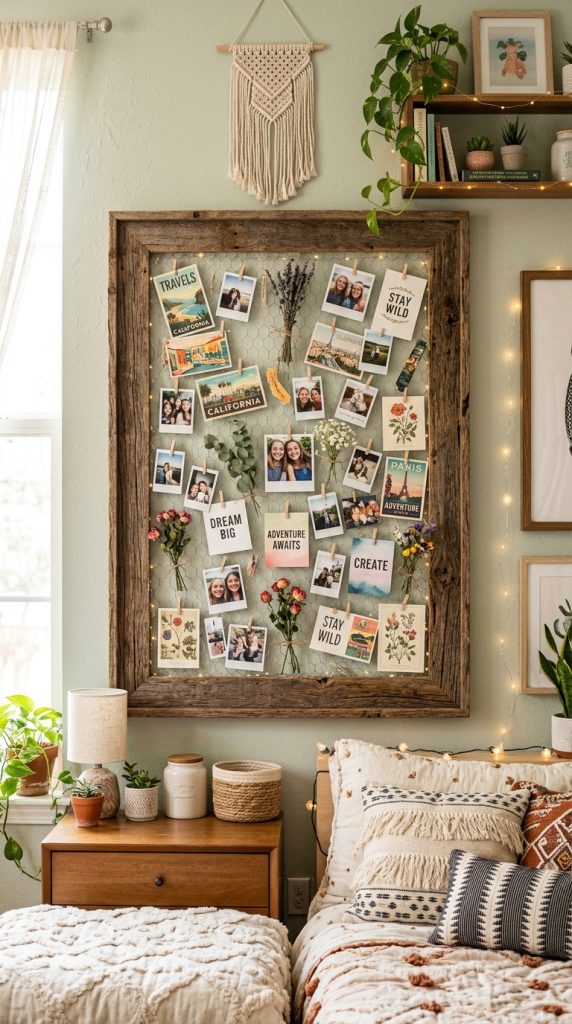
A chicken wire frame offers a rustic yet modern way to display photos.
Materials Needed
- Wooden picture frame
- Chicken wire mesh
- Staple gun
- Mini clips
Styling Tips
Paint the frame to match your room décor before attaching the wire. Add postcards, notes, and dried flowers along with your favorite photos.
3. Cork Board Memory Wall
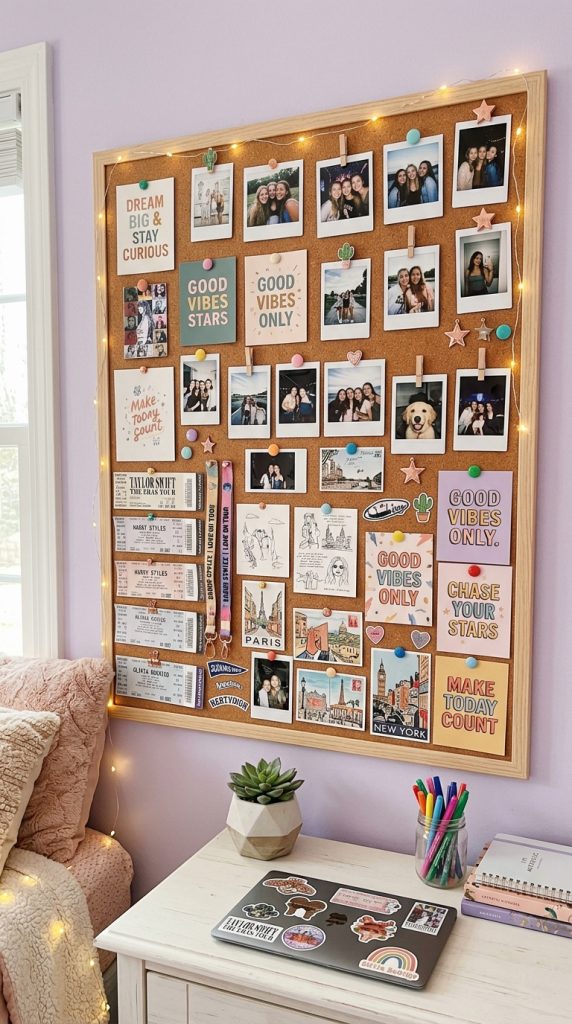
A cork board allows you to rearrange photos whenever you want.
Materials Needed
- Cork board
- Push pins
- Printed photos
- Decorative pins
Best Uses
- Vacation photos
- Concert tickets
- Inspirational quotes
- Polaroid pictures
Mix different photo sizes for a creative collage effect.
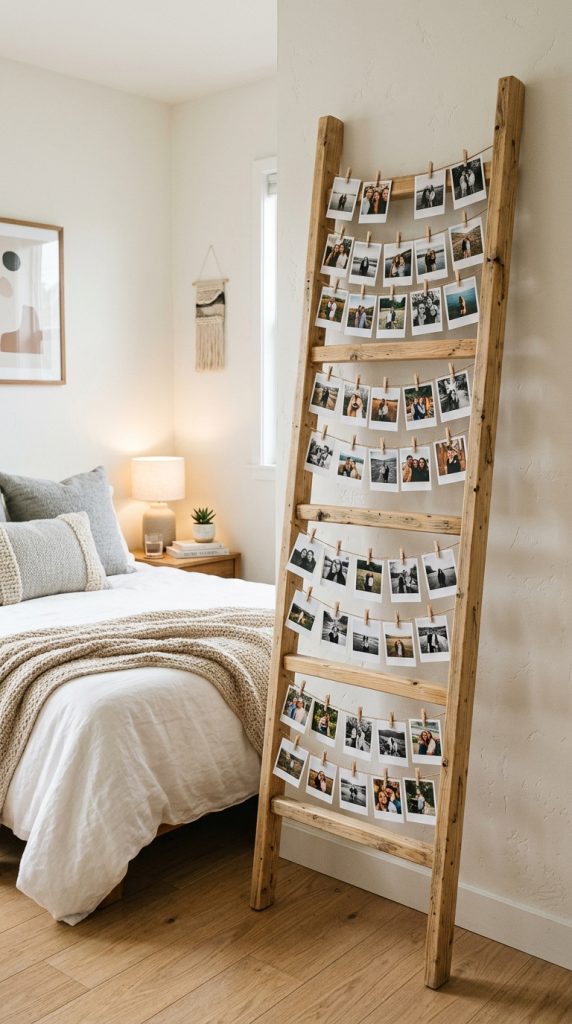
4. Wooden Clip Photo Ladder
A decorative ladder creates a unique vertical photo display.
Materials Needed
- Wooden dowels
- Twine
- Mini clothespins
- Photos
Why It Works
This design uses wall space efficiently while adding a modern handmade touch to your room.
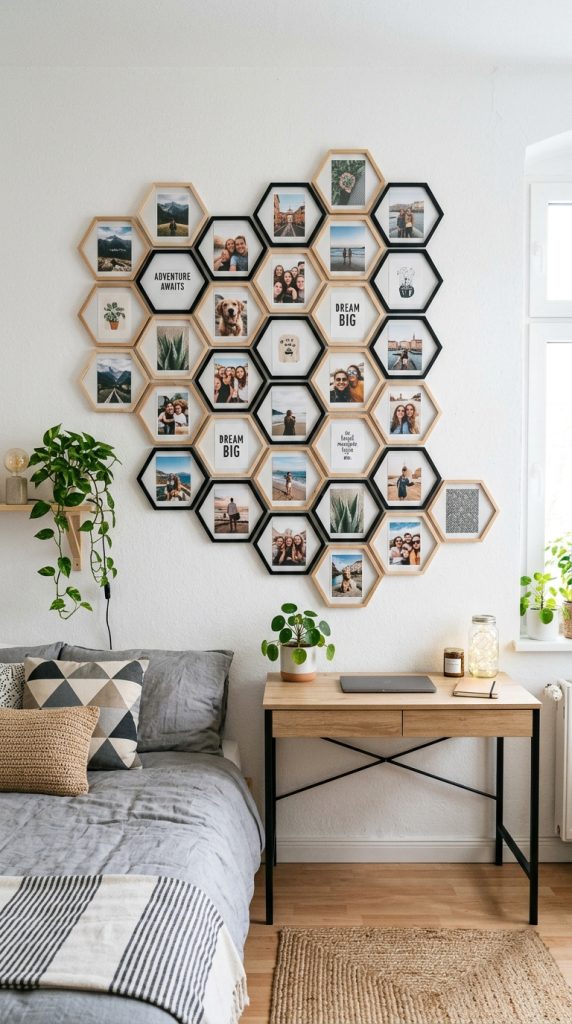
5. Hexagon Photo Grid
Create a geometric wall arrangement using hexagon-shaped photo frames or cardstock.
Materials Needed
- Printed photos
- Hexagon templates
- Double-sided tape
Styling Ideas
Arrange the hexagons in a honeycomb pattern for a clean and contemporary appearance.
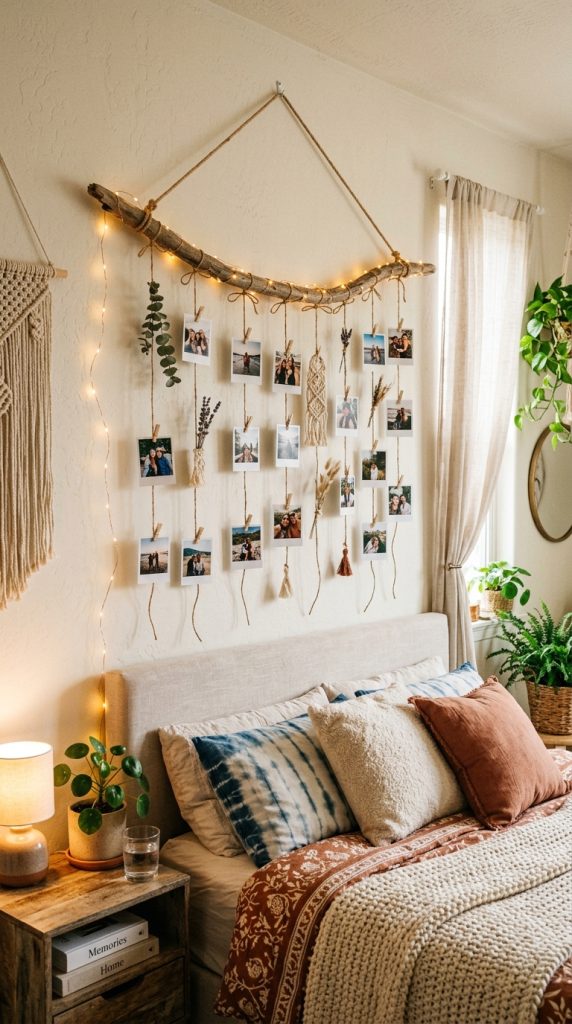
6. Hanging Branch Photo Display
A natural tree branch makes a beautiful boho-inspired photo holder.
Materials Needed
- Smooth tree branch
- Twine
- Mini clips
- Photos
Decorating Tips
Wrap the branch with fairy lights or greenery for an extra decorative touch.
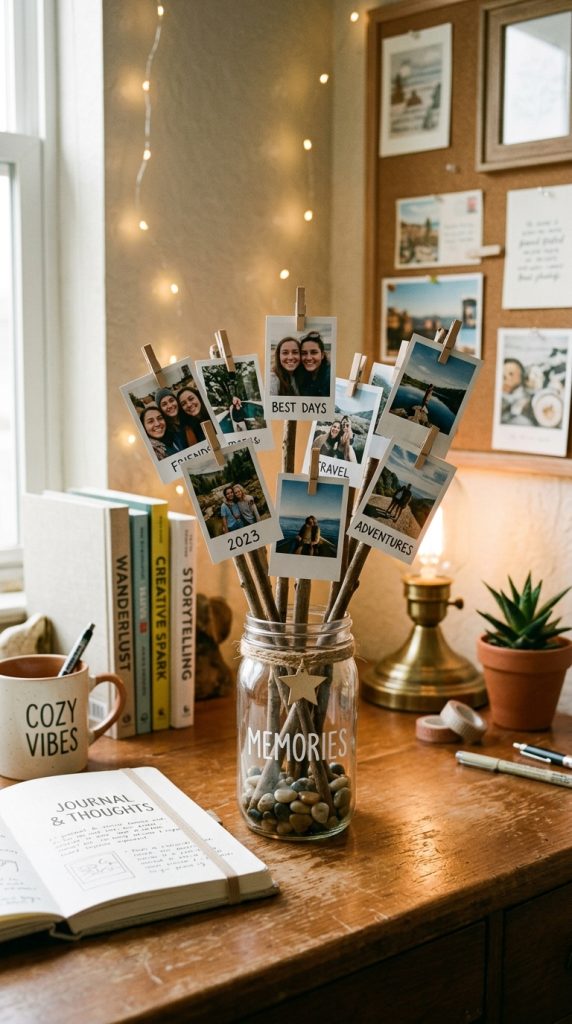
7. Mason Jar Photo Centerpiece
Display favorite photos in a creative tabletop arrangement.
Materials Needed
- Mason jar
- Wooden skewers
- Small clips
- Decorative stones or pebbles
Perfect For
- Desks
- Nightstands
- Study areas
- Bedroom shelves
The photos can be changed easily throughout the year.
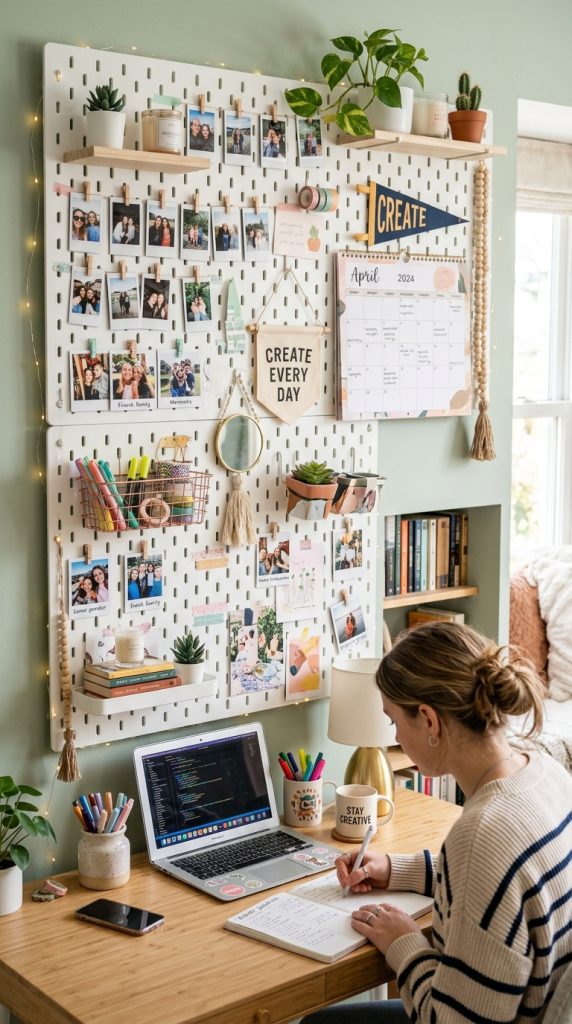
8. Pegboard Photo Organizer
A pegboard combines organization with decorative display space.
Materials Needed
- Pegboard
- Peg hooks
- Small shelves
- Clips
Display Ideas
Combine photos with small plants, calendars, artwork, and inspirational quotes for a personalized wall.
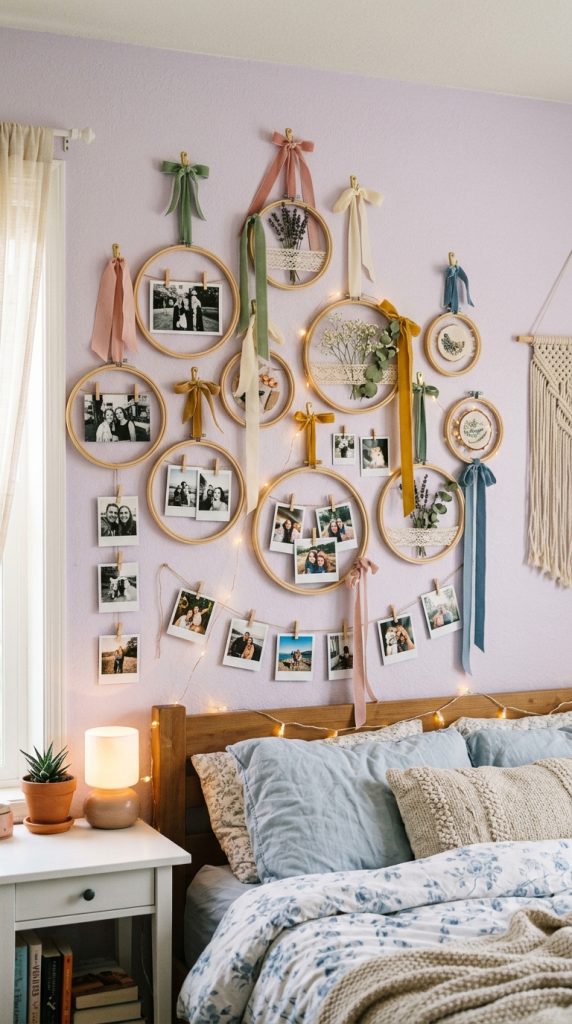
9. Embroidery Hoop Photo Display
Embroidery hoops create a soft and creative display that works with many room styles.
Materials Needed
- Wooden embroidery hoop
- Ribbon
- String
- Mini clips
Styling Suggestions
Hang several hoops together at different heights for a unique gallery wall.
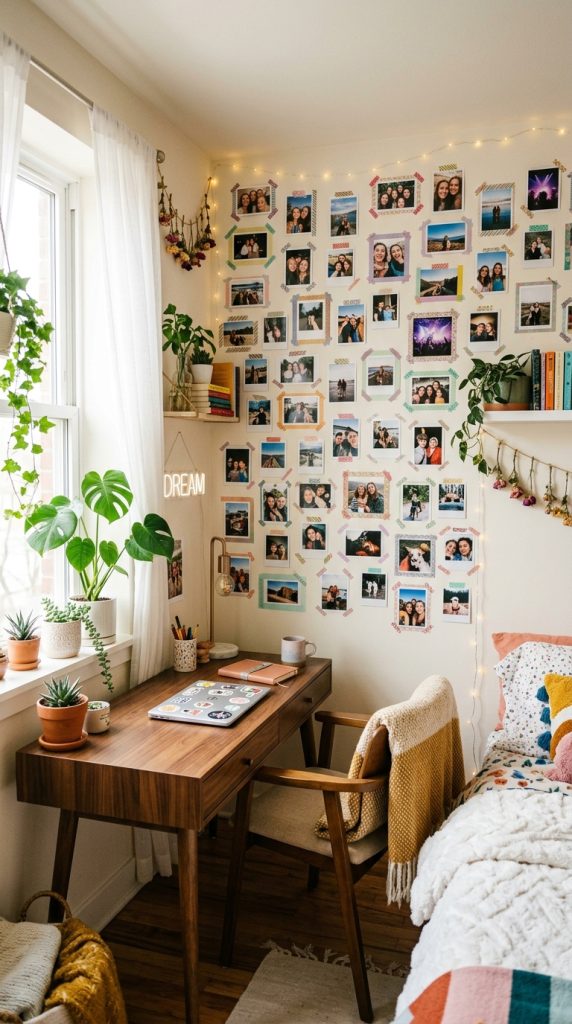
10. Washi Tape Photo Gallery
Washi tape offers a damage-free way to display photos directly on the wall.
Materials Needed
- Decorative washi tape
- Printed photos
- Scissors
Creative Ideas
Use colorful tape to create borders, geometric shapes, or faux frames around each picture.
Tips For Creating A Beautiful Photo Display
Careful planning helps your display look organized and visually balanced.
Helpful Decorating Tips
Choose A Color Theme
Coordinate photo colors and decorations with your bedroom décor.
Mix Photo Sizes
Combining different print sizes adds visual interest.
Leave Even Spacing
Consistent spacing creates a cleaner overall appearance.
Use Good Quality Prints
Clear, high-resolution photos improve the finished display.
Update Regularly
Swap photos throughout the year to keep your display fresh and meaningful.
Best Places To Display DIY Photo Projects
Almost any room can benefit from personalized photo décor.
Popular Locations
- Bedroom walls
- Study desks
- Dorm rooms
- Reading corners
- Hallways
- Shelving units
Choose a location where the display can become a natural focal point.
Final Thoughts
DIY photo displays are an affordable and creative way to celebrate favorite memories while adding personality to your living space. Whether you choose a fairy light wall, cork board collage, hanging branch display, or modern pegboard organizer, each project allows you to showcase your photos in a unique and stylish way.
With simple materials and a little creativity, you can create room décor that reflects your interests, friendships, and experiences. Personal touches like handwritten notes, postcards, and decorative accents make each display even more meaningful and visually appealing.