Transforming your home doesn’t require a massive budget or a team of professional interior designers. Often, the most charming, character-filled touches come from simple projects you tackle yourself over a weekend. Whether you want to refresh a bland entryway, organize a cluttered living room, or add a pop of color to a quiet reading nook, hands-on decorative upgrades offer a sense of creative satisfaction that store-bought items simply cannot match.
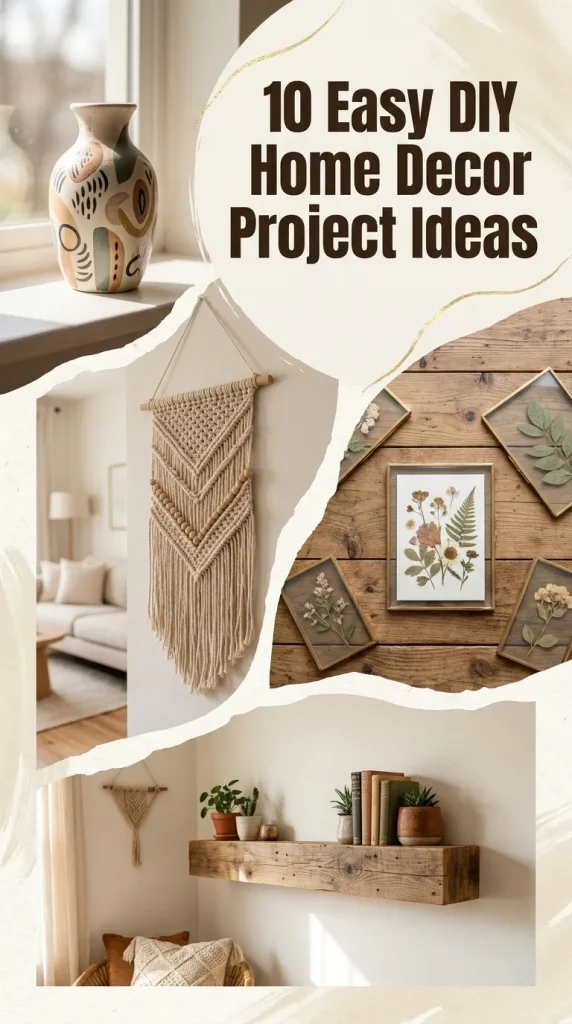
Here are ten approachable, high-impact DIY home decor projects designed to elevate your living space without requiring advanced woodworking skills or specialized tools.
1. Floating Wooden Picture Ledges
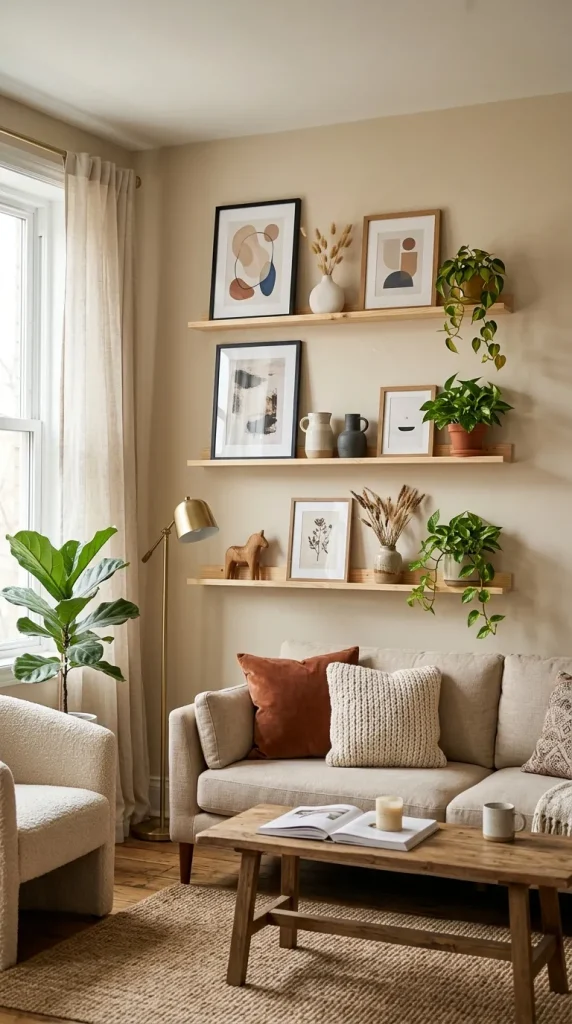
Standard wall shelves often require precise spacing and heavy-duty anchors, but sleek picture ledges offer maximum styling versatility with minimal effort. By mounting a narrow wooden ledge with a subtle front lip, you create an adaptable gallery space where you can lean art prints, framed photos, small ceramic vases, and trailing plants.
How to do it: Purchase three thin pine boards from a local hardware store—one for the back, one for the base, and a narrow trim strip for the front lip. Secure them together using wood glue and finishing nails. Stain or paint the assembly to match your wall tone or existing furniture, then mount it directly into wall studs for a clean, Scandinavian-inspired display.
2. Fabric-Covered Canvas Art
Large-scale art instantly pulls a room together, but oversized canvas prints can be exceptionally expensive. Fabric canvas wrapping allows you to introduce bold patterns, tactile textures, or subtle earthy tones to your walls at a fraction of the cost.
How to do it: Select a stretch of patterned textile—such as linen, patterned cotton, or vintage tapestries. Wrap the fabric tightly around a pre-stretched artist’s blank canvas or a simple homemade wooden frame, securing it on the back with a heavy-duty staple gun. Pull the corners taut to ensure clean, crisp edges before hanging.

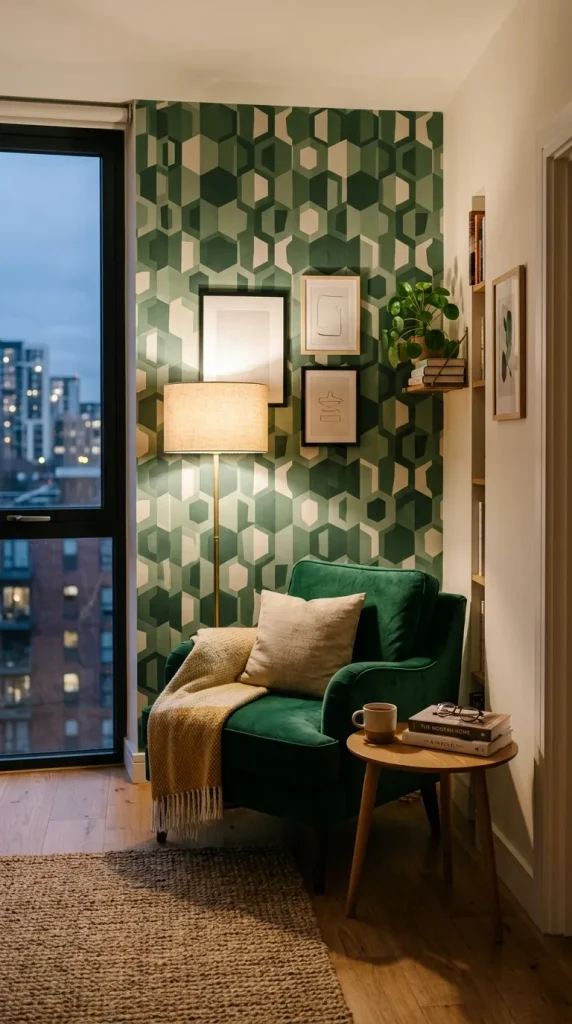
3. Peel-and-Stick Accent Wall
Accent walls bring depth and visual interest to focal areas like bedroom headboard walls or dining areas. Modern removable wallpaper makes this project completely forgiving, allowing you to achieve a dramatic geometric, floral, or textured look without the messy commitment of traditional wallpaper paste.
How to do it: Clean your target wall thoroughly and allow it to dry completely. Measure carefully and trim your wallpaper strips with a few extra inches at top and bottom. Peel back the backing paper gradually, smoothing the paper down with a squeegee to eliminate air bubbles. Trim the top and bottom excess with a sharp utility knife along baseboards and ceilings for a seamless fit.
4. Upcycled Glass Bottle Vases
Before tossing out olive oil bottles, soda glass, or condiment jars, consider their decorative potential. With a coat of textured paint, everyday glass containers transform into ceramic-style vessels perfect for dried floral arrangements or eucalyptus sprigs.
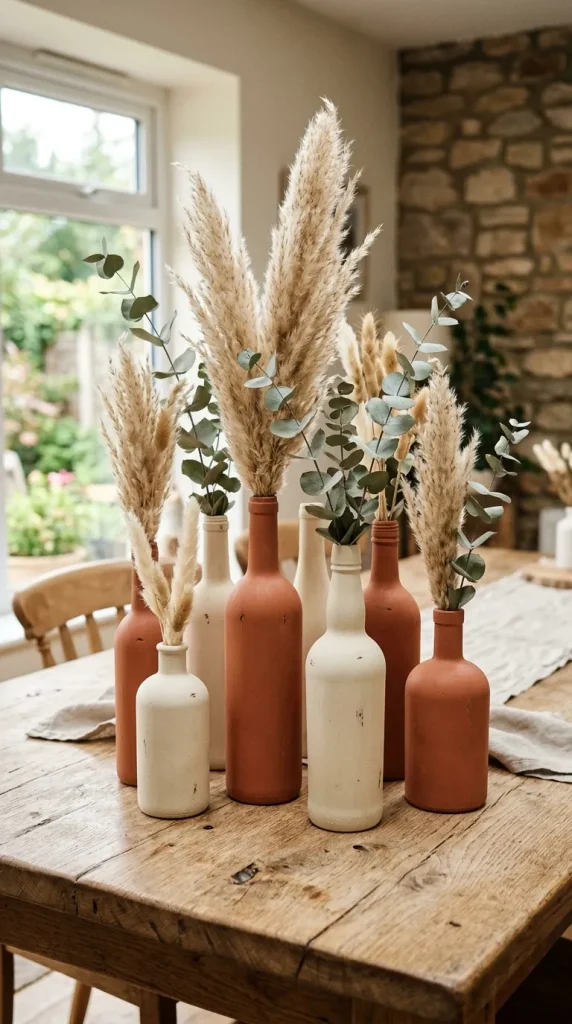
How to do it: Thoroughly clean glass bottles and remove all sticky label residue. Mix chalk paint or acrylic paint with a tablespoon of baking powder; this creates a gritty, stone-like matte finish when dry. Apply two thin coats using a foam brush, allowing adequate drying time between layers. Display them in grouped clusters on dining tables, window sills, or mantels.
5. Rope-Wrapped Planters and Baskets
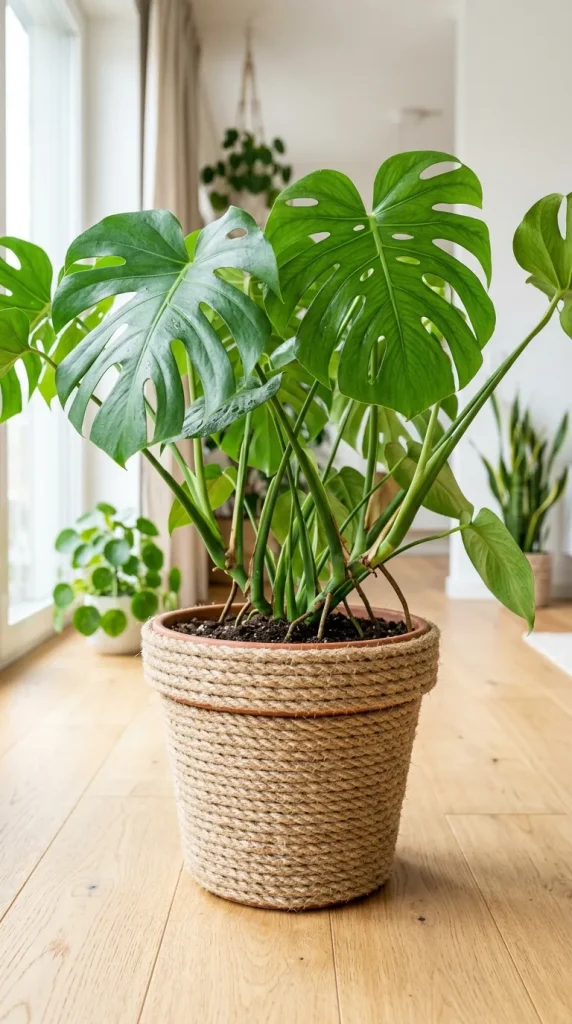
Indoor house plants add life to any room, but basic plastic pots can look plain. Elevate your plant collection by wrapping utility planters, plastic tubs, or worn cardboard boxes in thick natural jute or cotton rope.
How to do it: Beginning at the base of your pot, apply a strip of hot glue and press the end of your rope firmly into place. Wrap the rope continuously around the perimeter in tight, even coils, adding small dots of hot glue every few inches to secure it. Once you reach the rim, trim the rope at a diagonal and glue the end neatly inside the inner edge.
6. Painted Geometric Door Borders
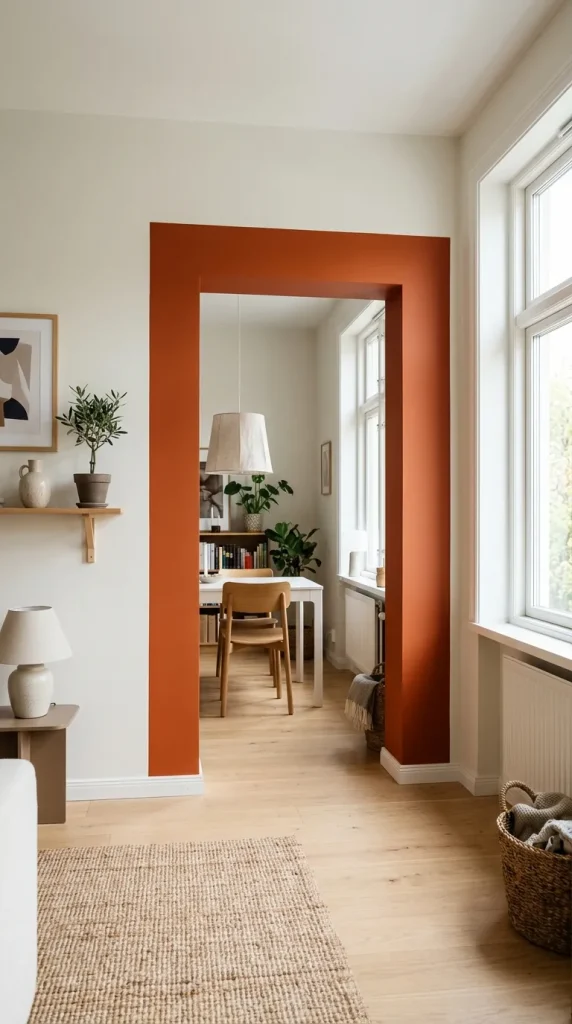
If you want to introduce an unexpected pop of color without painting an entire room, color-blocking around internal door frames creates a modern, architectural focal point.
How to do it: Use painter’s tape to outline a broad geometric border around a doorway—extending 4 to 6 inches beyond the trim onto the wall. Press the tape edges firmly with a putty knife to prevent paint bleed. Apply two coats of a contrasting interior paint color, then peel away the tape while the second coat is still slightly damp to reveal crisp, clean lines.
7. Custom Wooden Bead Garland
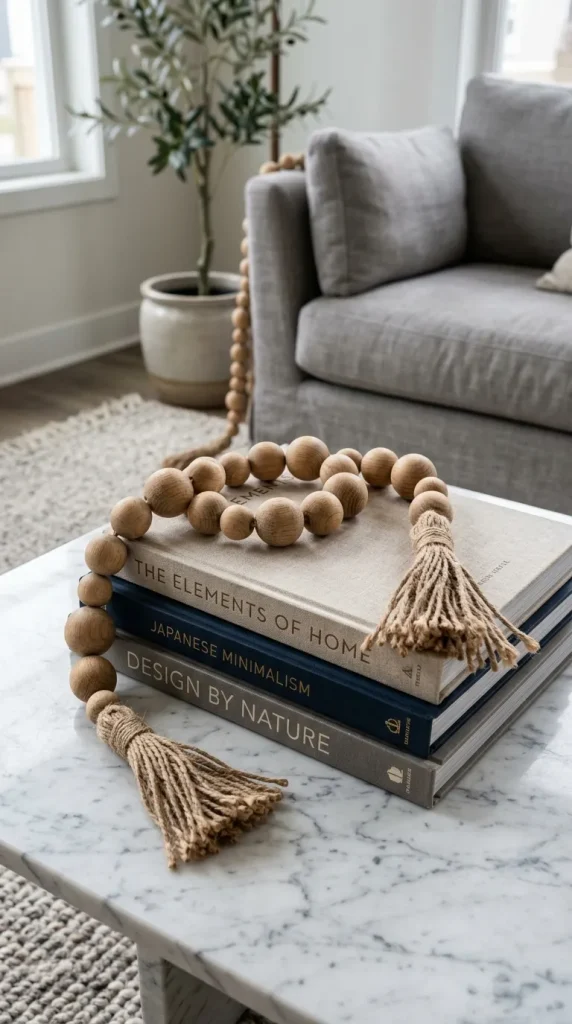
Styling coffee tables, bookshelves, and entry consoles often calls for low-profile textural accents. A wooden bead garland adds a relaxed, organic feel when draped over decorative books, coiled inside bowls, or hung around large floor vases.
How to do it: Thread unfinished wooden beads in alternating sizes onto a long strand of twine or leather cord until you achieve your desired length. Tie thick knots at both ends to secure the beads, then craft tassels out of matching twine or yarn to attach to each end. Leave the beads natural, or stain them for a deeper wood tone.
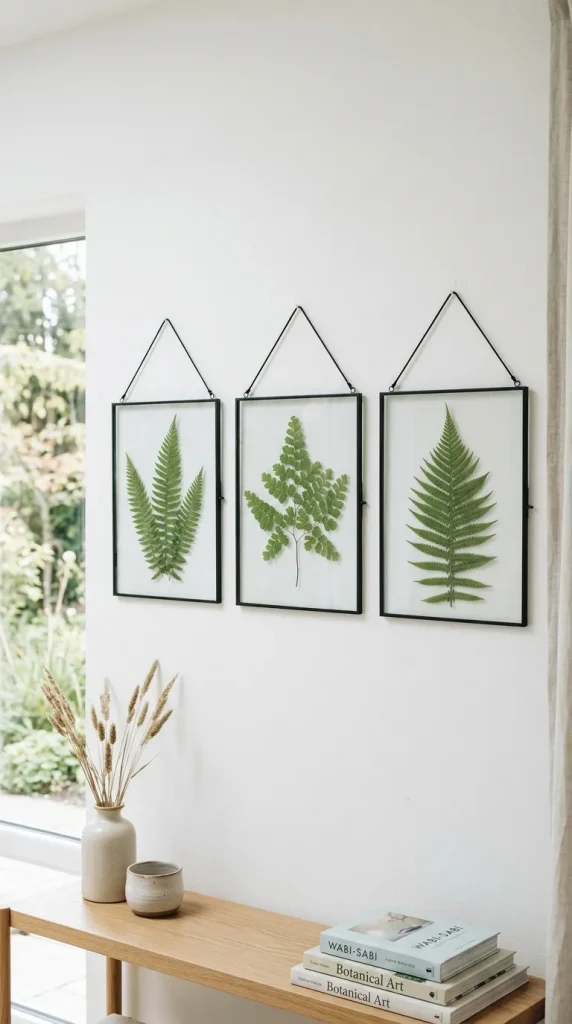
8. Framed pressed Botanical Prints
Bringing natural elements indoors creates a calming atmosphere. Framed pressed leaves or wild blooms make elegant, timeless wall art that costs virtually nothing to assemble.
How to do it: Gather small ferns, colorful autumn leaves, or delicate wildflowers. Place them between sheets of parchment paper inside heavy books for one to two weeks until fully dried and flattened. Mount the pressed botanicals onto heavy cardstock or sandwich them inside floating glass frames for a clean, botanical-museum presentation.
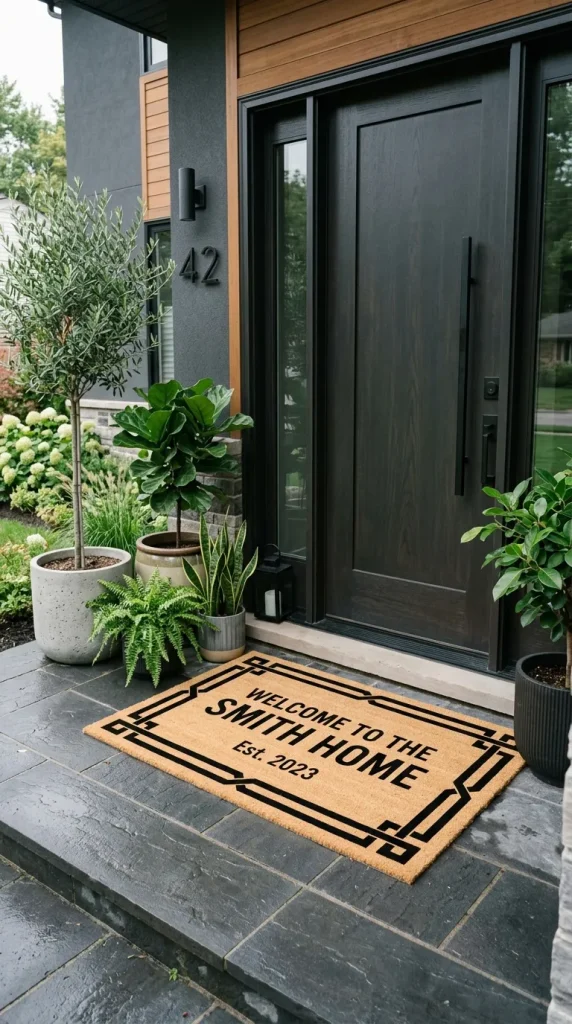
9. Monogrammed or Patterned Doormats
Your entryway creates the first impression of your home. Plain coir doormats are inexpensive and durable, making them the perfect canvas for custom typography, stencil designs, or bold graphic stripes.
How to do it: Secure a pre-cut stencil or painter’s tape pattern onto a plain natural coir mat. Use outdoor acrylic paint or industrial spray paint to dab the paint firmly into the stiff fibers. Allow it to cure completely before placing it at your front door.
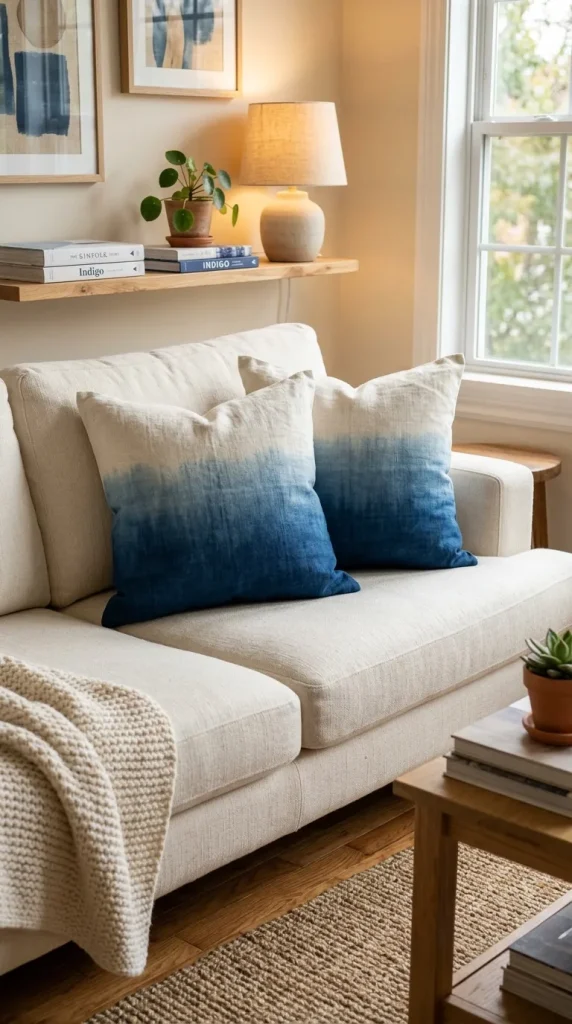
10. Dip-Dye Linen Throw Pillow Covers
Textiles like throw pillows offer an easy way to refresh your couch or bed according to the season. Plain white or off-white cotton/linen pillow covers can be transformed into custom ombre accent pieces using simple fabric dye.
How to do it: Prepare a fabric dye bath according to the package instructions. Submerge the lower half of a damp pillow cover into the dye for a few minutes. Gradually raise the cover out of the bath in stages, dipping only the bottom edge into the liquid for longer to create a dark-to-light gradient effect. Rinse until the water runs clear and wash before stuffing with a pillow insert.